Whether you built your computer yourself or purchased a pre-built one, keeping a PC running in tip-top shape requires a lot of maintenance on your part. Regularly cleaning dust out of your PC is a necessity, but you also have to maintain your CPU’s thermal paste. Today, I’ll cover the details of removing thermal paste with rubbing alcohol.
So can you use rubbing alcohol to remove CPU thermal paste? Yes, you can use rubbing alcohol to remove your CPU’s thermal paste, but you’ll want to use isopropyl alcohol to do it because of its superior properties as a solvent. Make sure that you remove the thermal paste carefully so that you don’t damage your CPU.
While that’s a concise and direct answer to the question of whether or not you can use rubbing alcohol to remove the thermal paste, there are a few details that can’t be answered in a single paragraph.
To follow up on that, I’ll go over how you should use rubbing alcohol to clean off your CPU’s thermal paste and how frequently you should do so.
Cleaning CPU Thermal Paste With Rubbing Alcohol
Thermal paste is a compound that is used as an interface between your computer’s CPU and the heat sink attached to the CPU cooler.
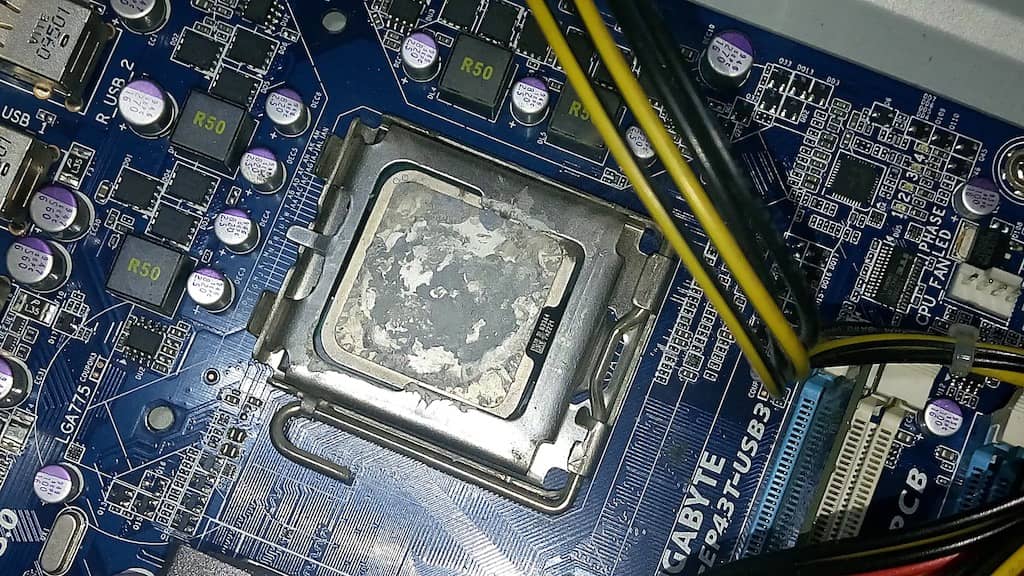
Without thermal paste, the heat would not be efficiently transferred to the cooler’s heat sink and your CPU would overheat. Old or poorly-applied thermal paste is often responsible for CPU overheating and crashes.
If you think that your thermal paste isn’t working well, then you may wish to reapply it, but to do so, you’ll need to clean the old thermal paste off first.
Failing to remove the old thermal paste may result in overheating, as it will not allow the new thermal paste to contact the CPU and heat sink directly.
Here’s what you’ll need to remove the thermal paste from your CPU and CPU cooler’s heat sink:
- Isopropyl rubbing alcohol
- Microfiber cloth or a coffee filter
- Replacement thermal paste
It is essential that you use the isopropyl variety of rubbing alcohol in specific, as ethyl alcohol will be far less effective at cleaning the thermal paste off of your CPU.
This is due to isopropyl’s solvent characteristics, allowing it to break down the thermal paste so it can easily be wiped away.
While ethanol may eventually wear away the thermal paste, it will take far longer and you will have to rub it away more vigorously.
This increases the chances of old thermal paste residue being left behind after you clean it up, and it also makes you more likely to inadvertently damage your machine.
Steps to Removing Thermal Paste
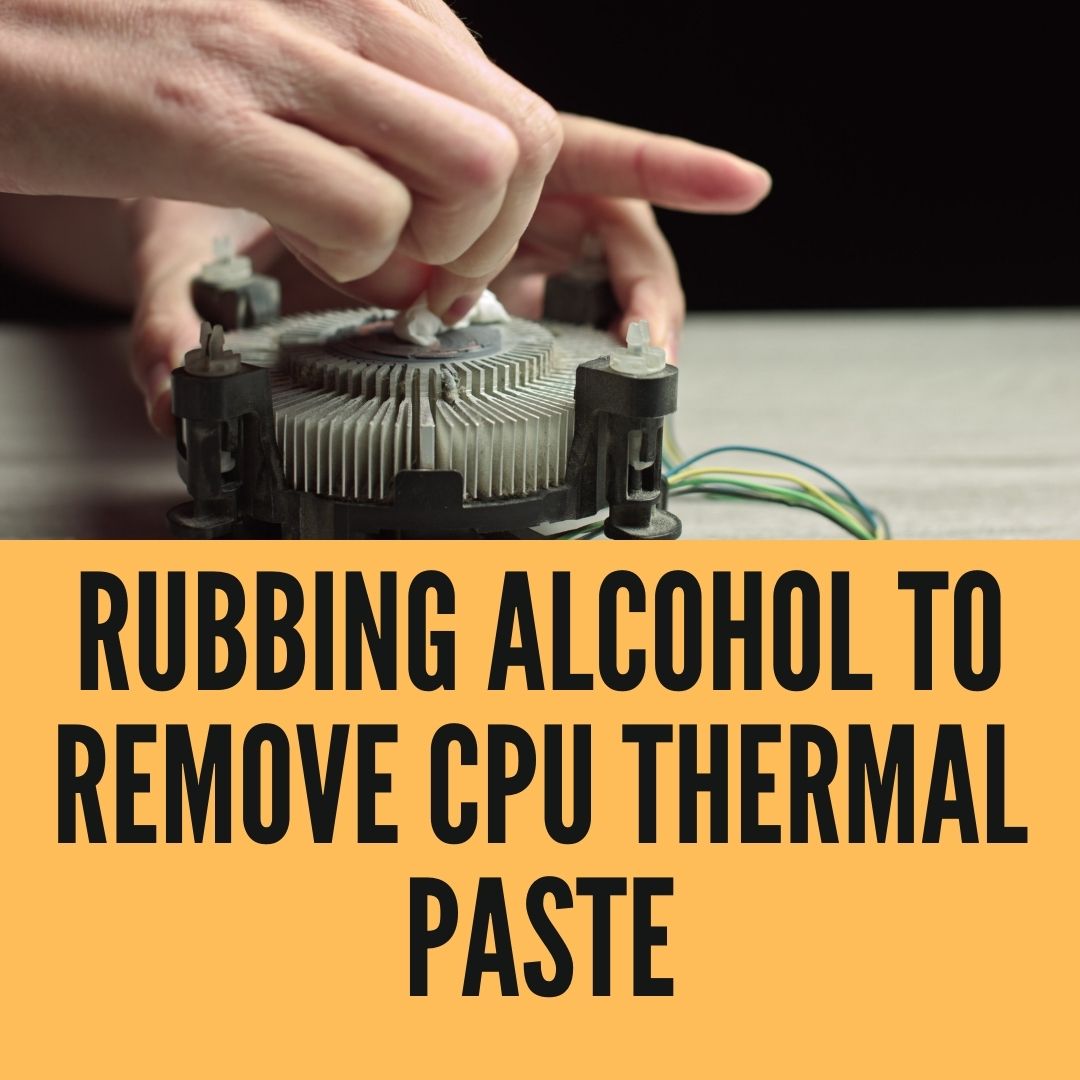
Start by preparing your work area. Open up your PC and carefully unscrew the CPU cooler from the processor itself.
To ensure that there is no uneven pressure on the CPU, unscrew each of the four screws a little bit at a time, moving between them diagonally in the same order each time.
When the screws have been freed from their standoffs, remove the cooler from the CPU very carefully and very slowly.
The remaining thermal paste may make the cooler stick to the CPU, so you’ll have to gently coax it away to ensure that you don’t damage it when you remove it.
The first thing you should do is apply a small amount of iso alcohol to your microfiber cloth or your coffee filter.
The reason why you should use these when cleaning your CPU is that they don’t leave behind lint or little bits of paper that can potentially get stuck on your CPU and damage it.
When applying the isopropyl alcohol, start with a small amount. You don’t want to oversaturate the cloth or coffee filter to the point that alcohol is gushing out of it when you clean up your thermal paste.
While excess rubbing alcohol will evaporate (making it a good choice for cleaning electronics), this is a good way to minimize risks.
Use the cloth to gently wipe away the thermal paste using a circular motion. If you’re having trouble getting it off, add a little bit more rubbing alcohol to the cloth and try again.
Depending on the condition of your thermal paste, it may take a few minutes of rubbing it away before it’s fully removed.
Once you’ve confirmed that all of the thermal paste has come off of both your processor and the CPU cooler, get your replacement thermal paste and apply a pea-sized amount of it to the center of the processor.
Don’t spread the thermal paste around yourself, as it will be compressed by the CPU cooler for full coverage when you reinstall it.
Fit your cooler to the processor and screw it back into its standoffs carefully. When you’re done, your computer will have a fresh new coat of thermal paste.
Here are some other posts that might interest you:
- Different Kinds Of Rubbing Alcohol
- Are Isopropyl and Rubbing Alcohol the Same?
- Can I Use Rubbing Alcohol To Clean My Keyboard?
- How To Make Your Own Hand Sanitizer
- Can You Mail Rubbing Alcohol?
How Frequently Should I Replace My Computer’s Thermal Paste?
Assuming you don’t remove your CPU’s cooler, then you won’t have to reapply thermal paste more often than every four or five years.
Thermal paste is meant to last a long time, and while your temperatures may rise by an insignificant amount before that point, this won’t make a difference unless you’re already running your PC extremely hot.
However, there are a few factors that can accelerate the degradation of your PC’s thermal paste, and consistently high temperatures are one of these factors.
Sustained high temperatures will dry out your computer’s thermal paste and reduce its effectiveness sooner than if your CPU was running cool.
Signs That You Should Replace Your Computer’s Thermal Paste
Using either your BIOS software or a program like HWMonitor, you’ll be able to keep track of your computer’s temperatures.
If your CPU is exceeding temperatures of 75 to 80 degrees C, then it’s likely that the time has come to replace your thermal paste, especially if you’ve been using your computer for years.
You may also wish to replace your CPU’s thermal paste if you’re experiencing CPU overheating crashes.
These are typically characterized by your computer suddenly becoming laggy and the audio glitching out before shutting down altogether.

My name is Logan, and I’m a 36-year-old dad who owns a small pressure-washing company in the suburbs of Atlanta, Georgia. My main goal with rubbing-alcohol.com is to show you how versatile isopropyl rubbing alcohol can be! I hope. You find it useful.